Considering a camera upgrade for your travel photography? Here’s my thought process and shopping list for upgrading from a Nikon DSLR to a Sony a7RII full-frame mirrorless camera, possibly the best travel camera out there! I can’t recommend it enough.
In case y’all haven’t noticed from my Instagram and our recent posts, I recently kicked up our camera game a notch. I said goodbye to my dear Nikon, and hello to a Sony a7RII, my new full-frame mirrorless camera. *Foam*
To be clear, this was not a spur of the moment purchase. It took me months to decide which camera I wanted, and even longer to convince myself I was comfortable spending that much money on anything but travel (a side-effect of budget backpacking).*
It’s a step up that many amateur photographers are interested in taking, so I figured I’d explain my logic and shopping list, in case any of you readers/photographers are interested in taking the next step yourselves.
* In case you’re wondering how I could afford to drop fat stacks on a new camera, the short story is: I received a generous donation from a dear family friend. My thanks to BJF. Now stop being nosy.
How I went about upgrading from a Nikon DSLR to a Sony a7RII mirrorless full-frame camera
Why did I need to upgrade from my Nikon?
Previously, I was shooting with a Nikon D7100 DSLR, my trusty steed. It did everything I needed (at the time), produced decent quality photos, and could take a serious beating without complaint. It survived everything from the dust of Burning Man to thunderstorms in Pakistan to the inescapable colors of Holi in India.
But I wanted more. I traded in the Nikon D7100 for the Sony a7RII for several reasons:
- Better low-light performance. I was missing out on low-light and night shots because the Nikon D7100 simply didn’t produce good enough photos past ISO 800. Carrying a tripod didn’t always solve the problem.
- Better photo quality. The difference in quality might seem negligible to some, but I notice a world of difference between the Nikon D7100 and Sony a7RII shots. (And it’s soooo satisfying…)
- Larger photos. Because the A7RII is a full-frame camera, that means a bigger sensor, which means bigger, higher quality photo files.
- Mirrorless is amazing. Mirrorless cameras have come incredibly far since their advent several years ago. I gush about them plenty when giving advice to beginner travel photographers, but TL;DR they’re light and small and awesome. The Sony a7RII is top of the line for mirrorless cameras, and a competitive option for full-frame cameras in general. Win-win.
But why is all this necessary?
Well, I’m on a mission to transition from being a wandering bum to more of a digital nomad lifestyle, and photography is one way I’m trying to establish myself. We’re starting to sell prints, I’m becoming more active on stock photo sites, and we offer photography services to companies and organizations. Pro photographers need pro gear, right?
Interested in kicking up your photo game a notch? Check out these courses from KelbyOne to really start rocking that camera!
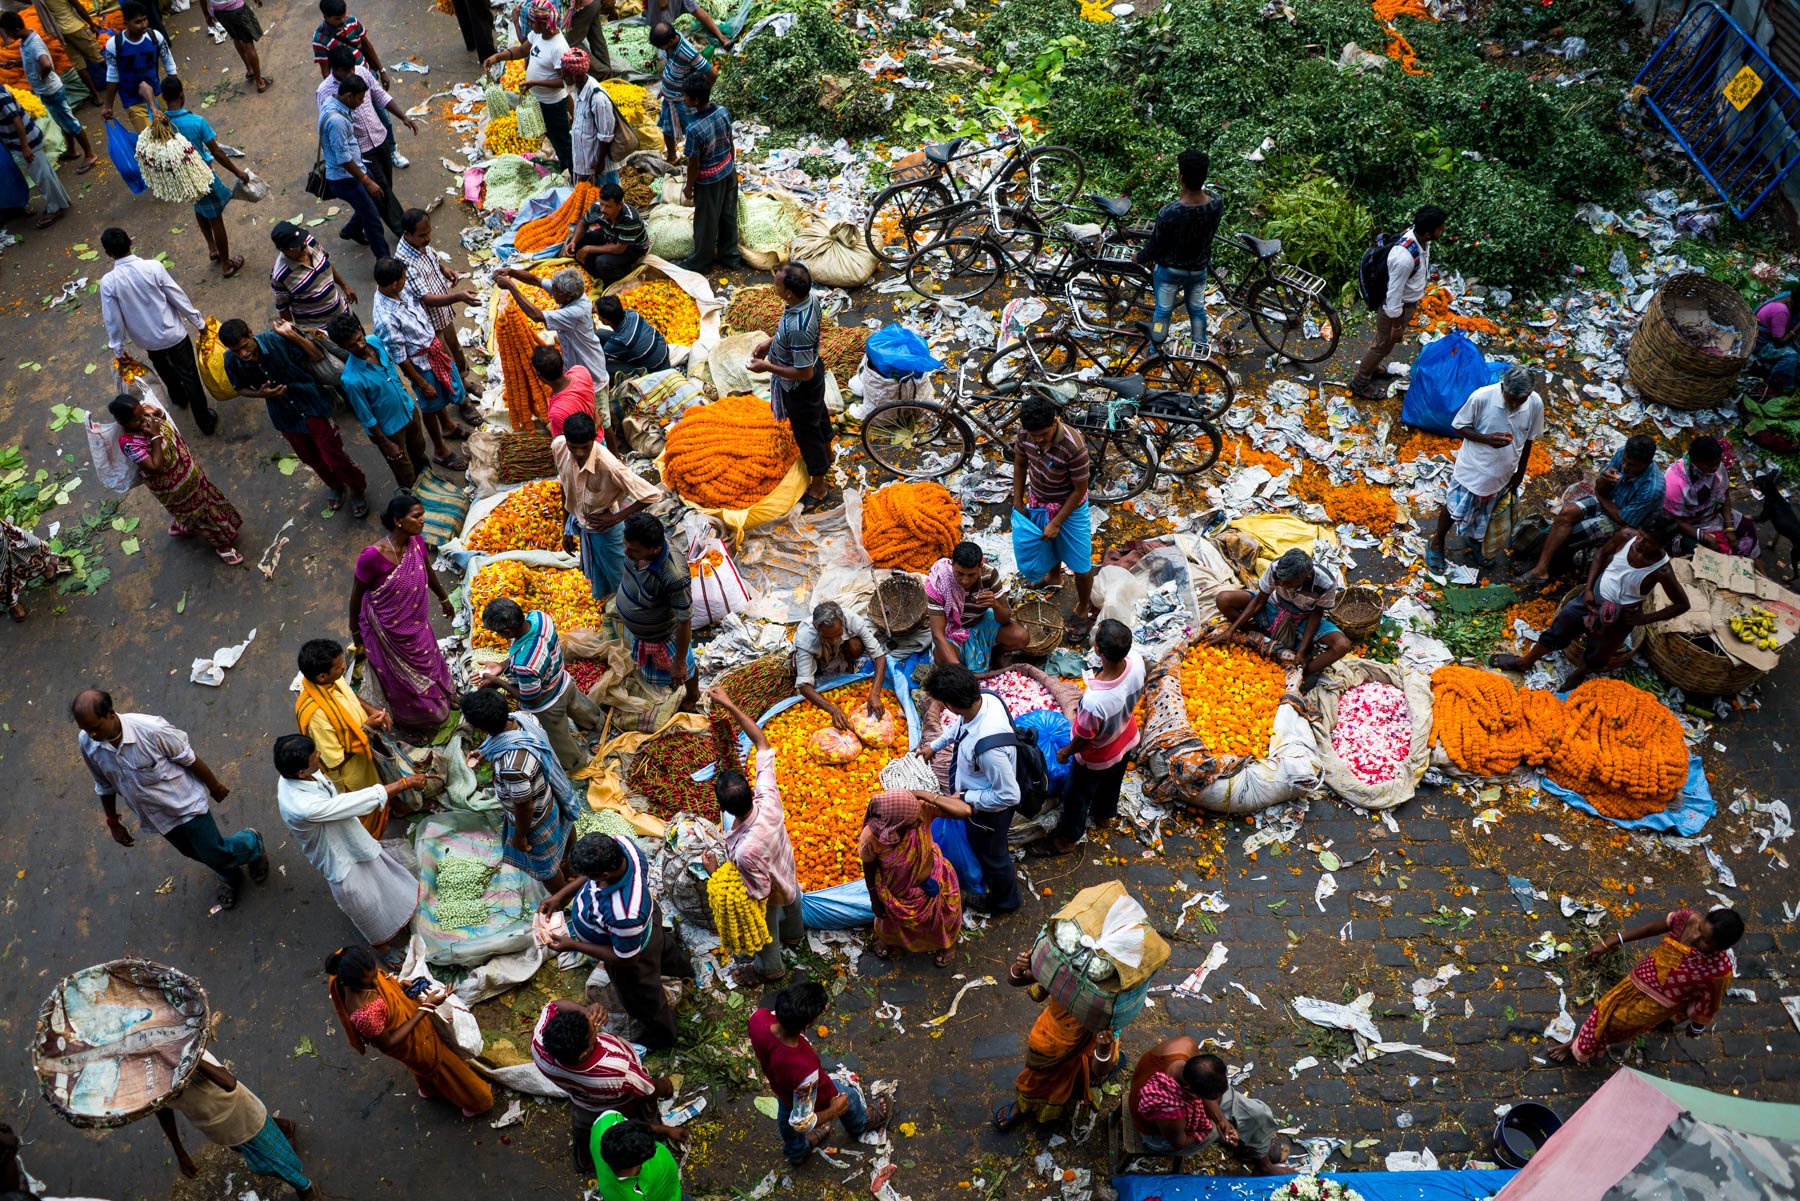
Seriously, just look at the detail in this photo of the Mullick ghat flower market in Kolkata. Be still, my heart.
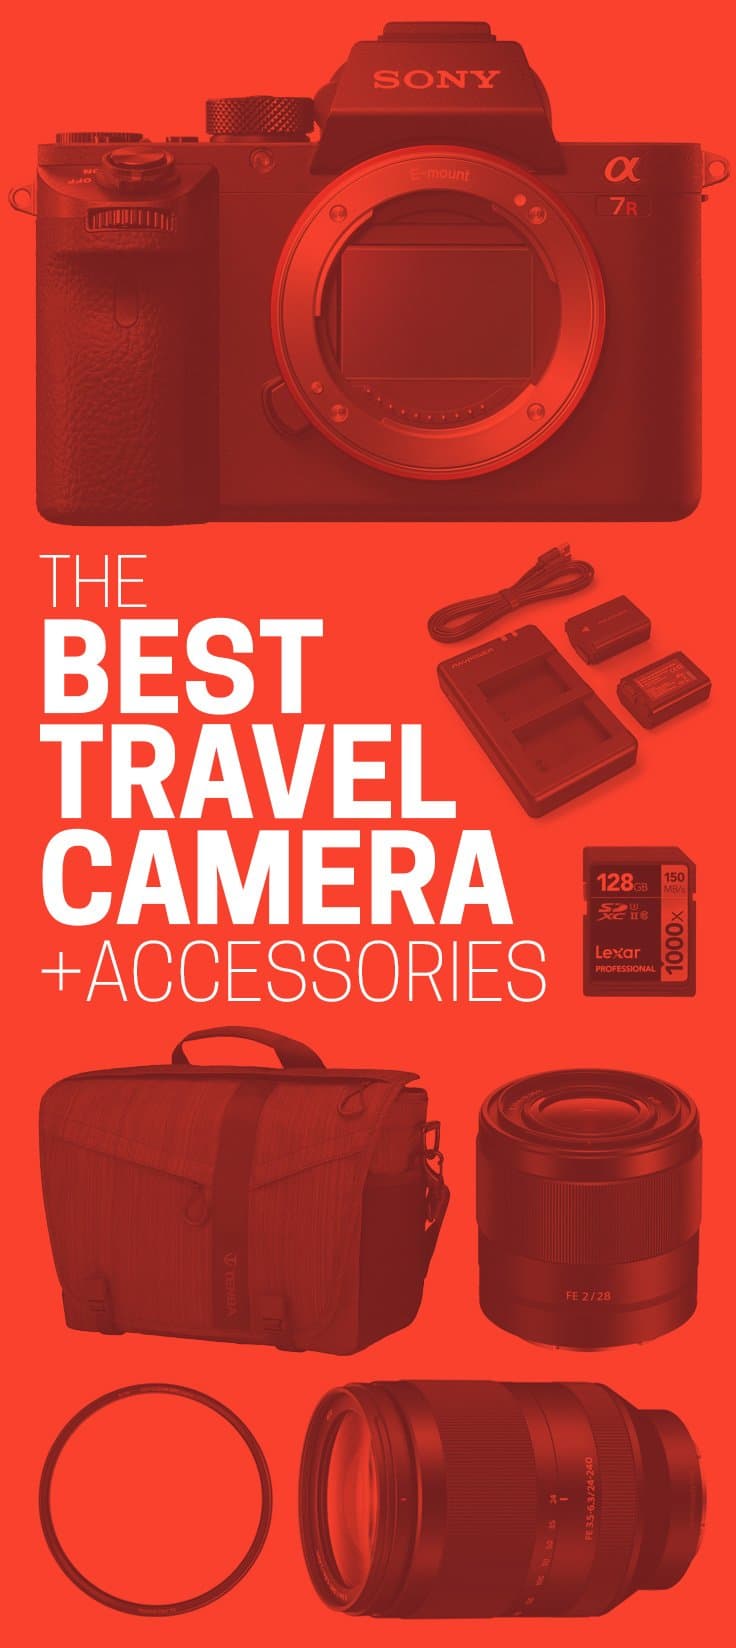
What to buy when upgrading to a Sony a7RII
So you’re going for it, eh? Excellent! Deciding what lenses and accessories to buy can be a daunting task, though. Here’s exactly what I purchased (and thus recommend, obviously).
Body
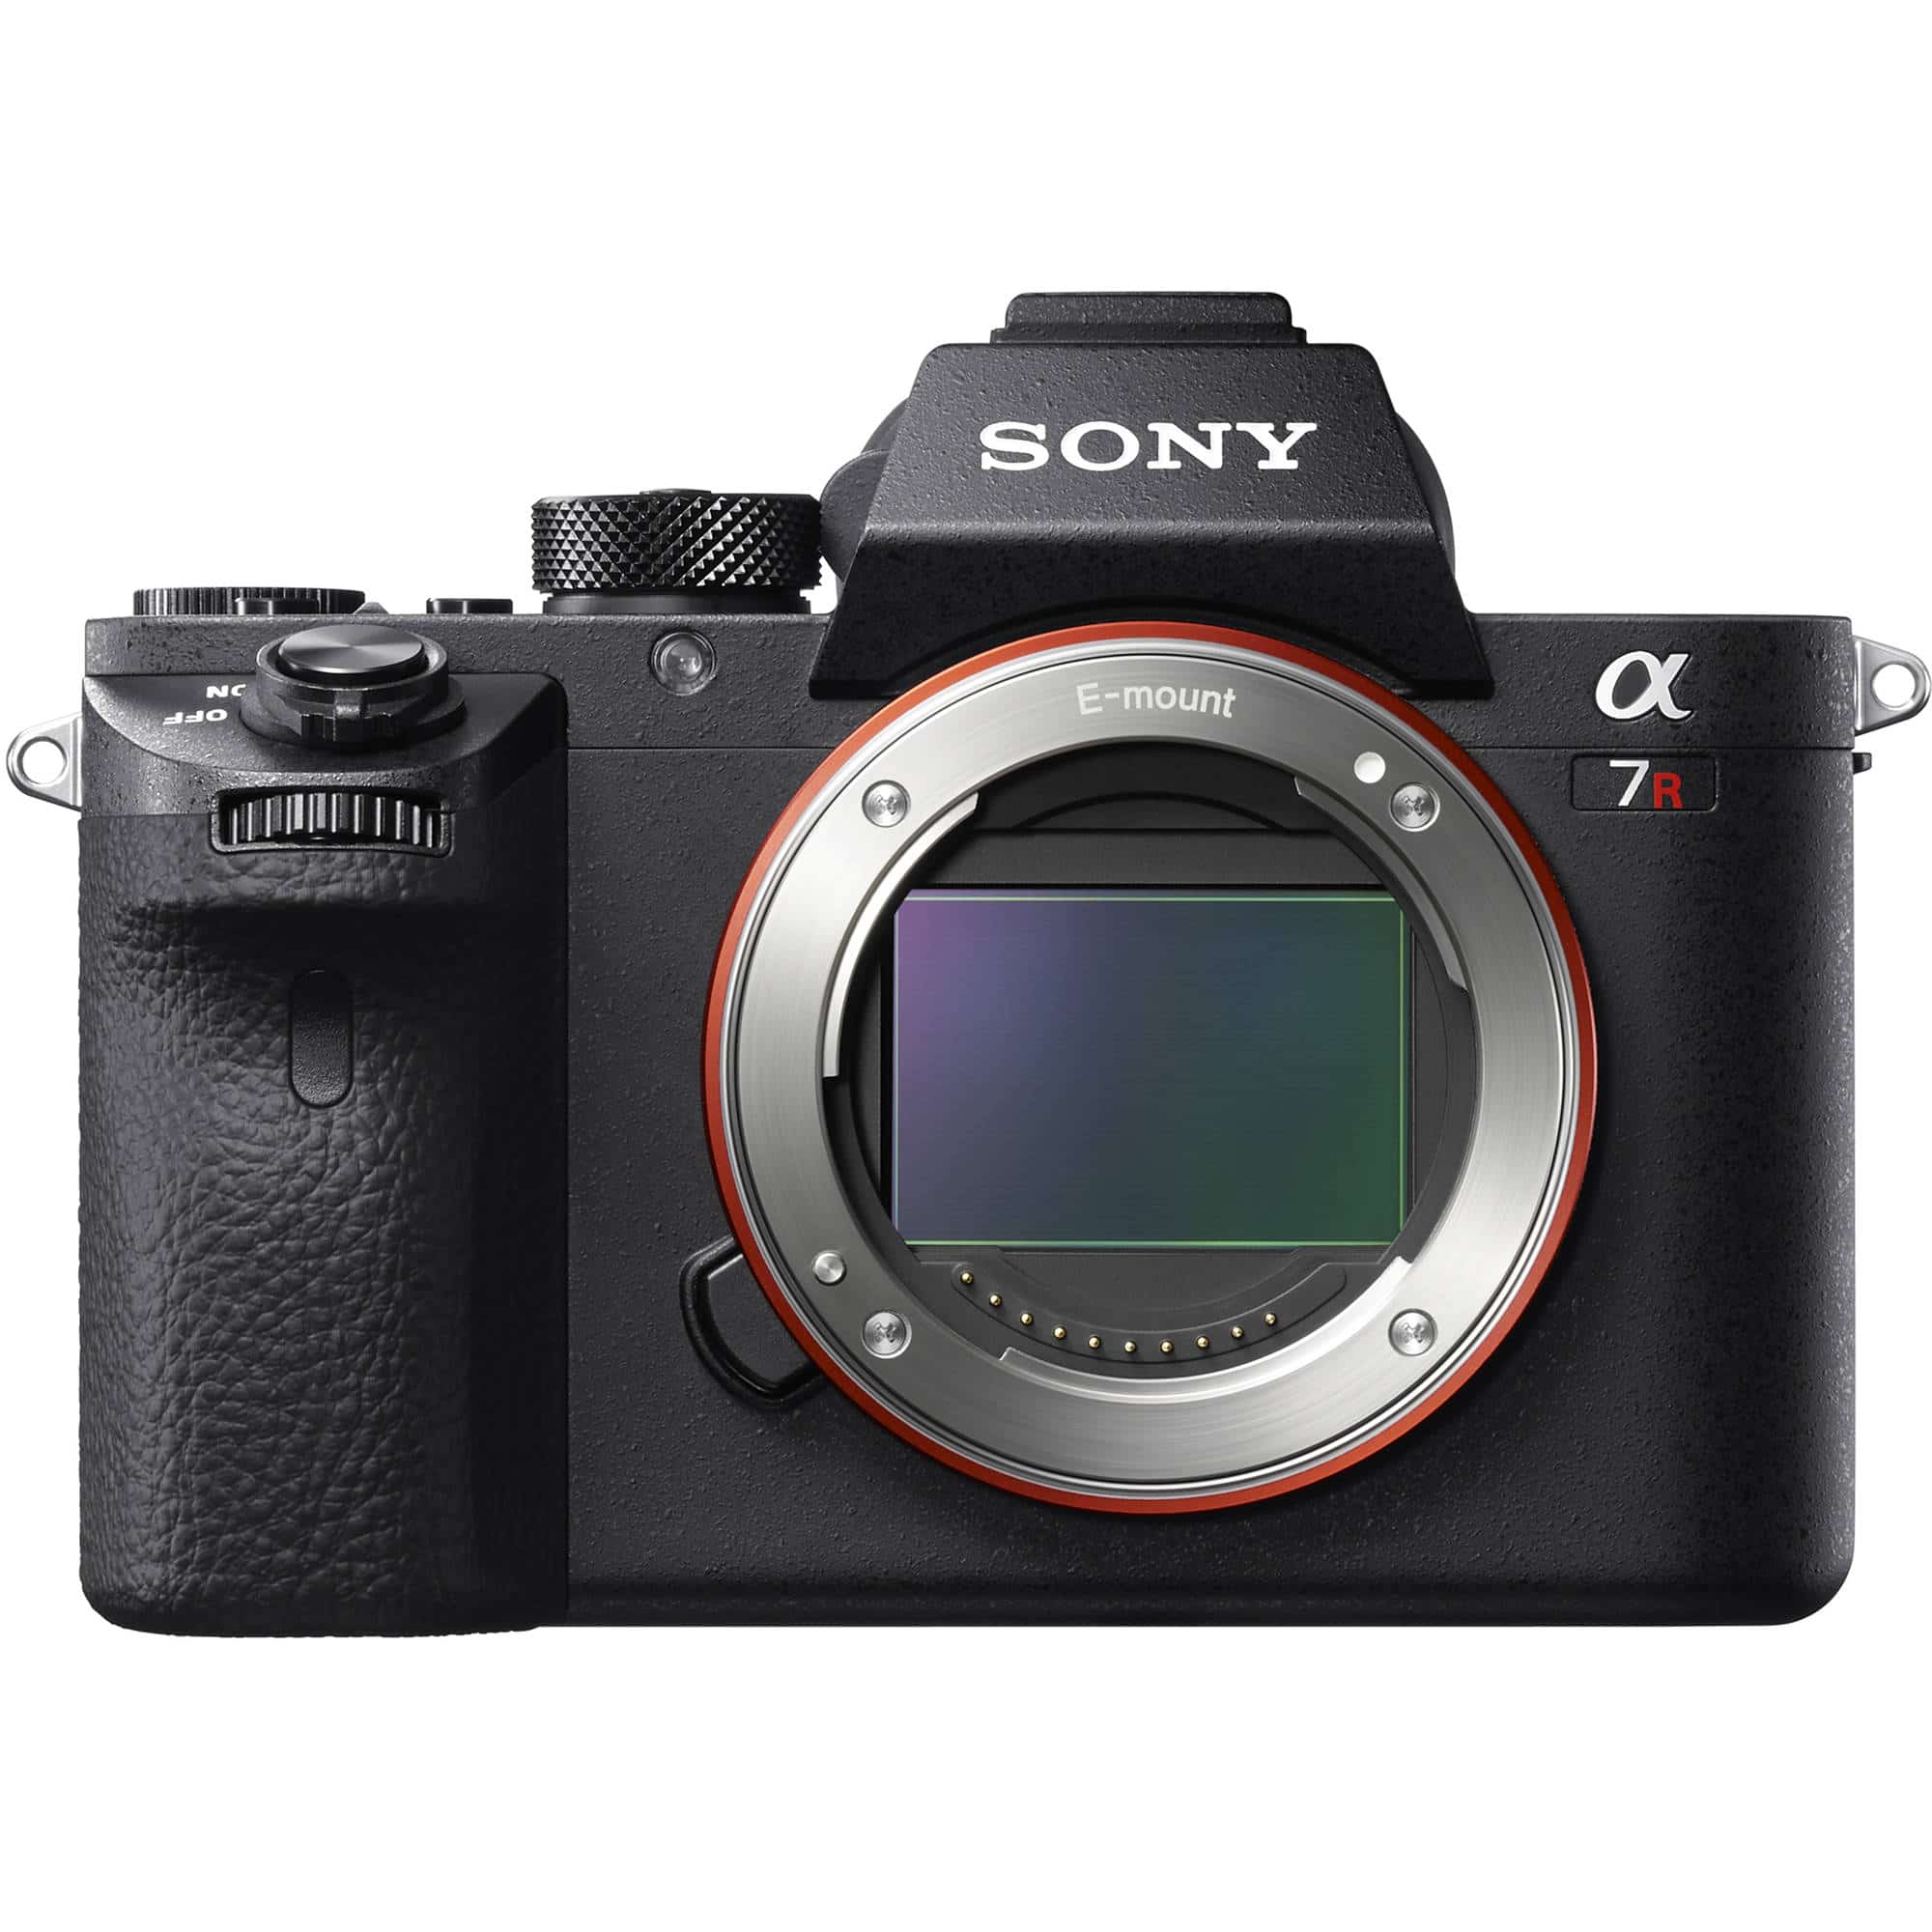
First, start out with the body: Sony Alpha a7RII camera body
Don’t hesitate to look into used options. I got mine “used” for $2,300—a previous customer had taken the camera out of the box, but didn’t buy it. $500 discount, heyo!
Lenses
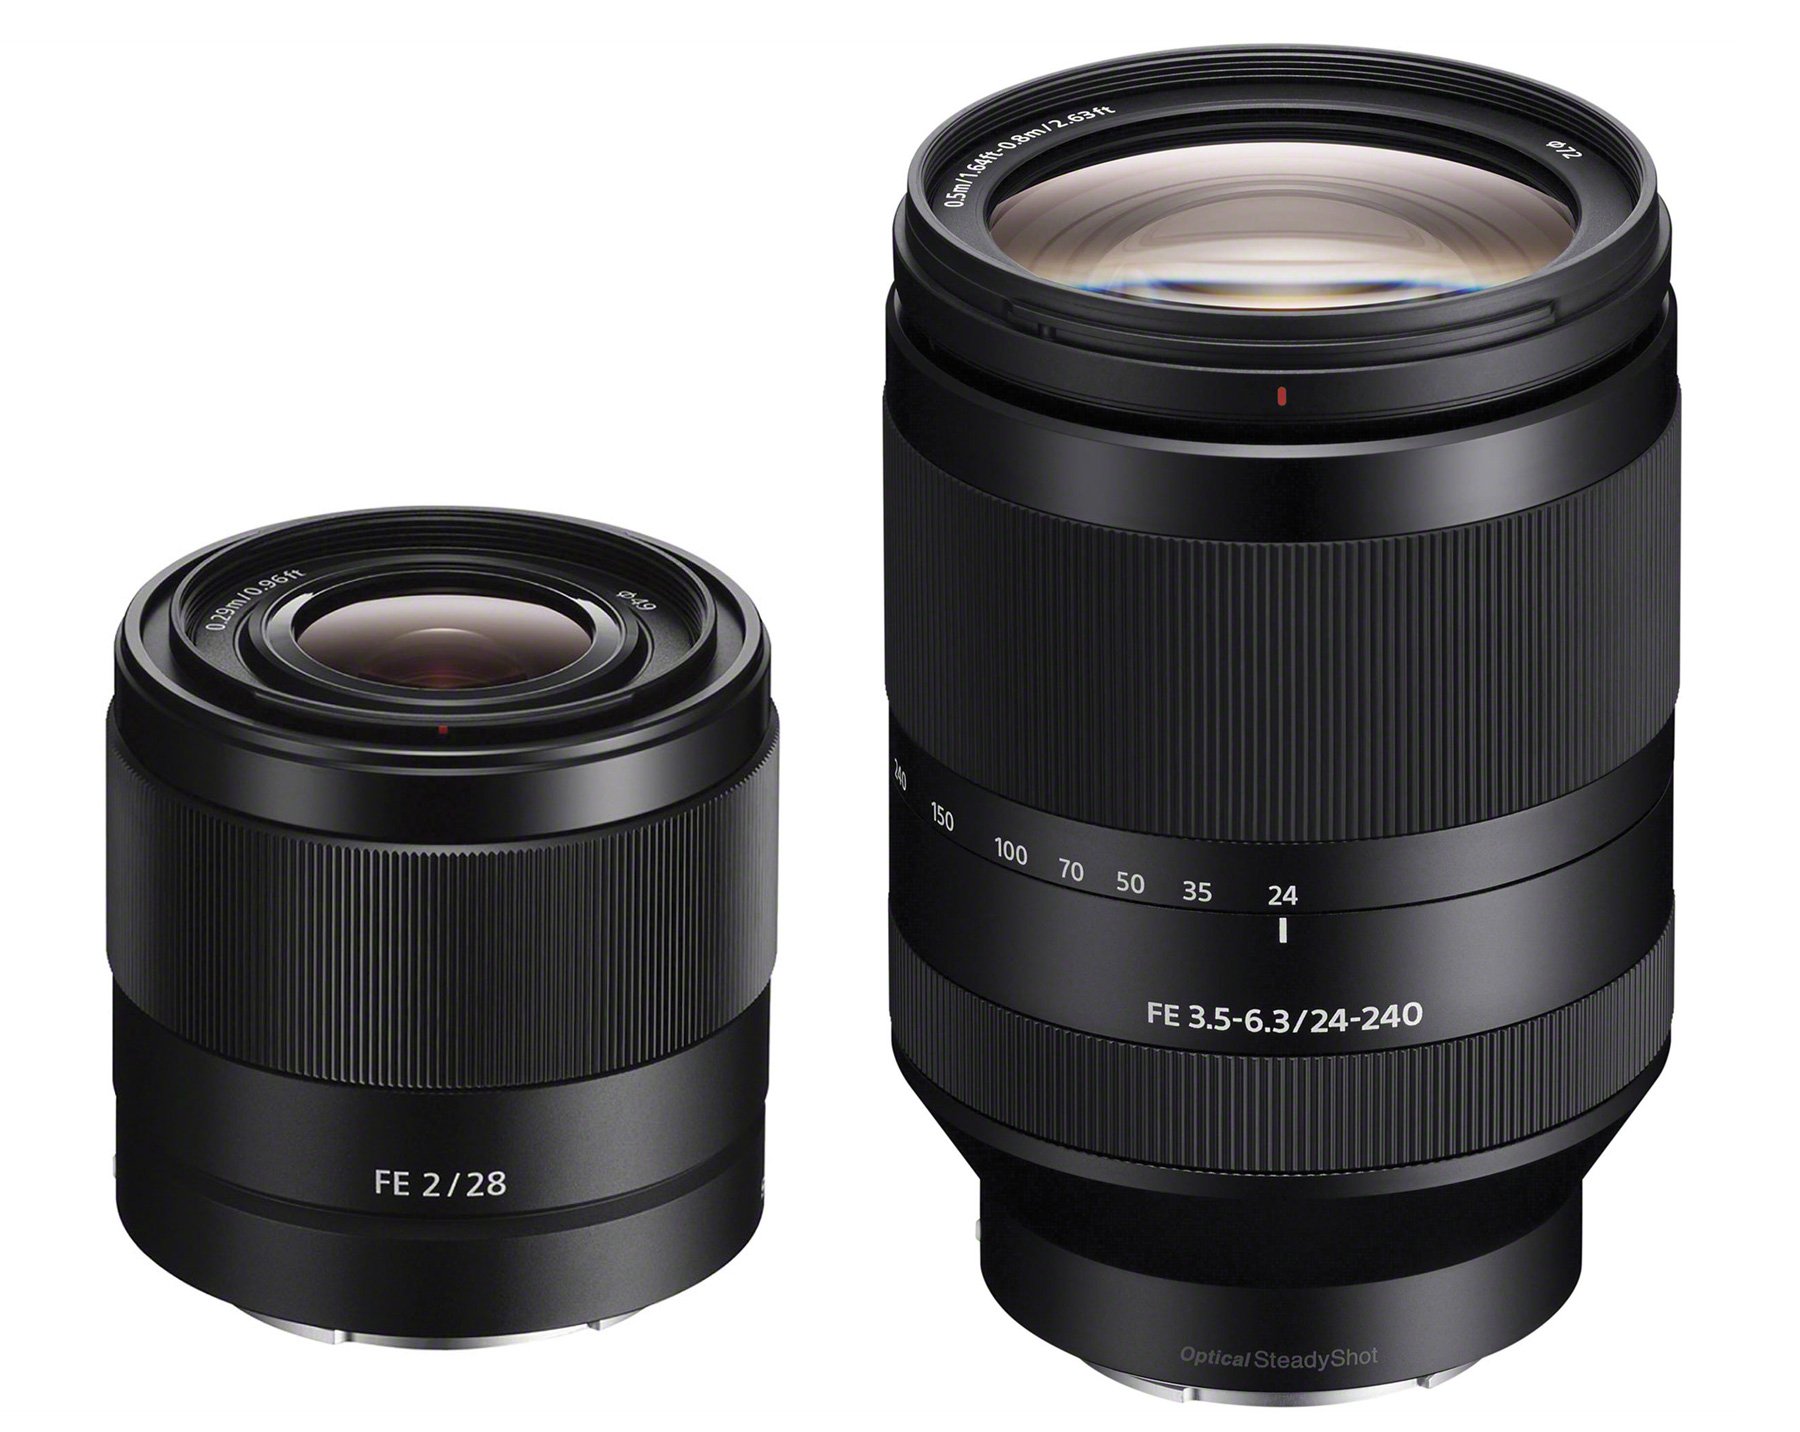
Lenses are a costly matter no matter what camera you have, and full-frame lenses are even harder on the wallet. I started out with two lenses:
- Sony 28mm f/2 prime lens ($450 with 64GB SD card): This lens is godly. I’ve hardly taken it off of the camera since I got it. It focuses incredibly fast, takes extremely crisp photos, the bokeh is delicious, and it’s wide enough to work with buildings and street scenes as well as closer shots of people and objects. Because it’s a prime lens, it forces me to move around to compose better shots, rather than relying on zoom—something I’ve been struggling to overcome for months! I can’t recommend this lens enough, especially for this price.
This lens is great for portrait photography. Not comfortable with taking portraits? Check out Reflections Enroute’s article on why portraits are worth the trouble!
- Sony 24-240mm f/3.5-6.3 ($995 with 64GB SD card): It’s become my backup lens for the 28mm, and will be my go-to when we head out to natural areas where I can take photos of wildlife. Its versatile range makes it a handy one-stop shop as far as lenses go. I used to use a similar lens on my Nikon D7100 all day errday, and it served me well (and saved me from having to switch lenses, like, ever).
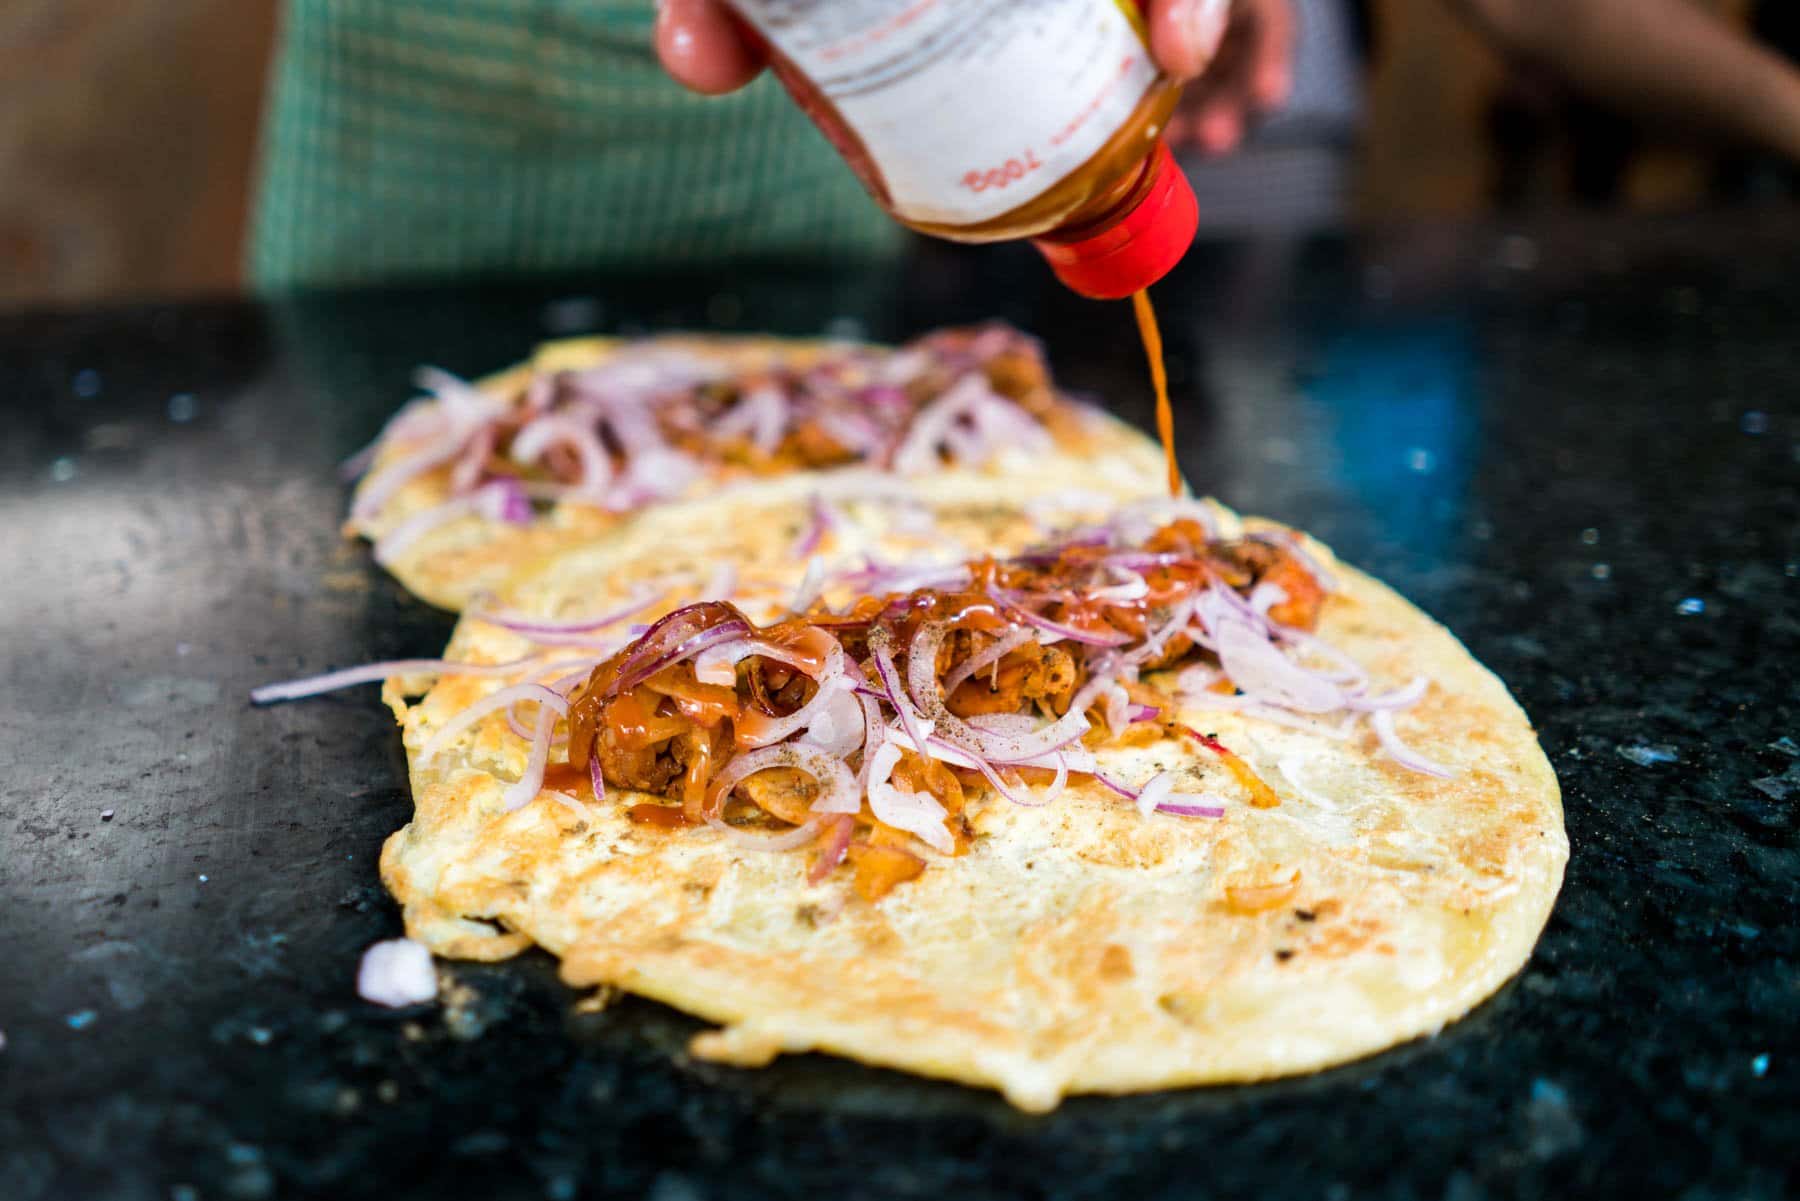
Delicious bokeh on a delicious kathi roll in Kolkata with the 28mm f/2

Filters
Take it from a destroyer of things: you want filters for your lenses. They protect them from scratches and other forces of camera evil.
- B+W 49mm UV filter ($20) – For use with the 28mm prime.
- B+W 72mm UV filter ($34) – For use with the 24-240mm.
- Bonus: Extra lens caps. I’m notorious for losing mine, and it never hurts to have a spare with a camera this costly. Here’s some for the 28mm prime and for the 24-240mm.

Memory cards and storage
Bigger photos = bigger files. Your file game is about to get far heavier than you’d like, and it pays to be prepared. A large, fast memory card is essential, or else you’re going to be sitting and waiting for files to write for ages. I’ve missed out on hundreds of perfect shots while waiting for previous photo files to write—don’t make the same mistake!
- Lexar 128GB SDXC memory card with 150MB/s read speed ($65)
- Lexar 64GB SDXC memory card with 150MB/s read speed ($40)
- Water-resistant memory card holder for 12 SD cards ($10) – Memory cards are tiny and easy to lose, but this makes them slightly more loss-proof… or at least easier to find!
- Seagate 4TB portable external hard drive ($120) – You’re going to need a place to store all of the massive files you’ll be generating. Sebastiaan and I carry four (yes, four) external hard drives between the two of us. We’ve generated a lot of photos in our year on the road!

No more missing out on details in low light! Keeping things crisp and clear in New Market, Kolkata.

Batteries
Trust me, you’ll want extra batteries. If you’re used to shooting with a DSLR, the Sony batteries are going to come as a bit of a shock.
I used to be able to get away with charging my Nikon’s batteries every 2-3 days (ish), but those days are gone. In one day of active shooting with the A7RII, I can go through two fully charged batteries. Always carry a spare battery or two in your bag!

Camera bag
The downside of the Sony A7RII is that it’s far more susceptible to dust and water damage than DSLRs.
I’m making an effort to be a more responsible adult and protect my camera from the elements (and myself). I actually put it away in a camera bag during transit, unlike my Nikon, which was unceremoniously dumped into whatever space was available in my smaller backpack. I suggest you do the same.
- Tenba messenger camera bag ($90) – Weather proof, durable, and can fit a mirrorless camera + 2 lenses. This bag fits into my small backpack!
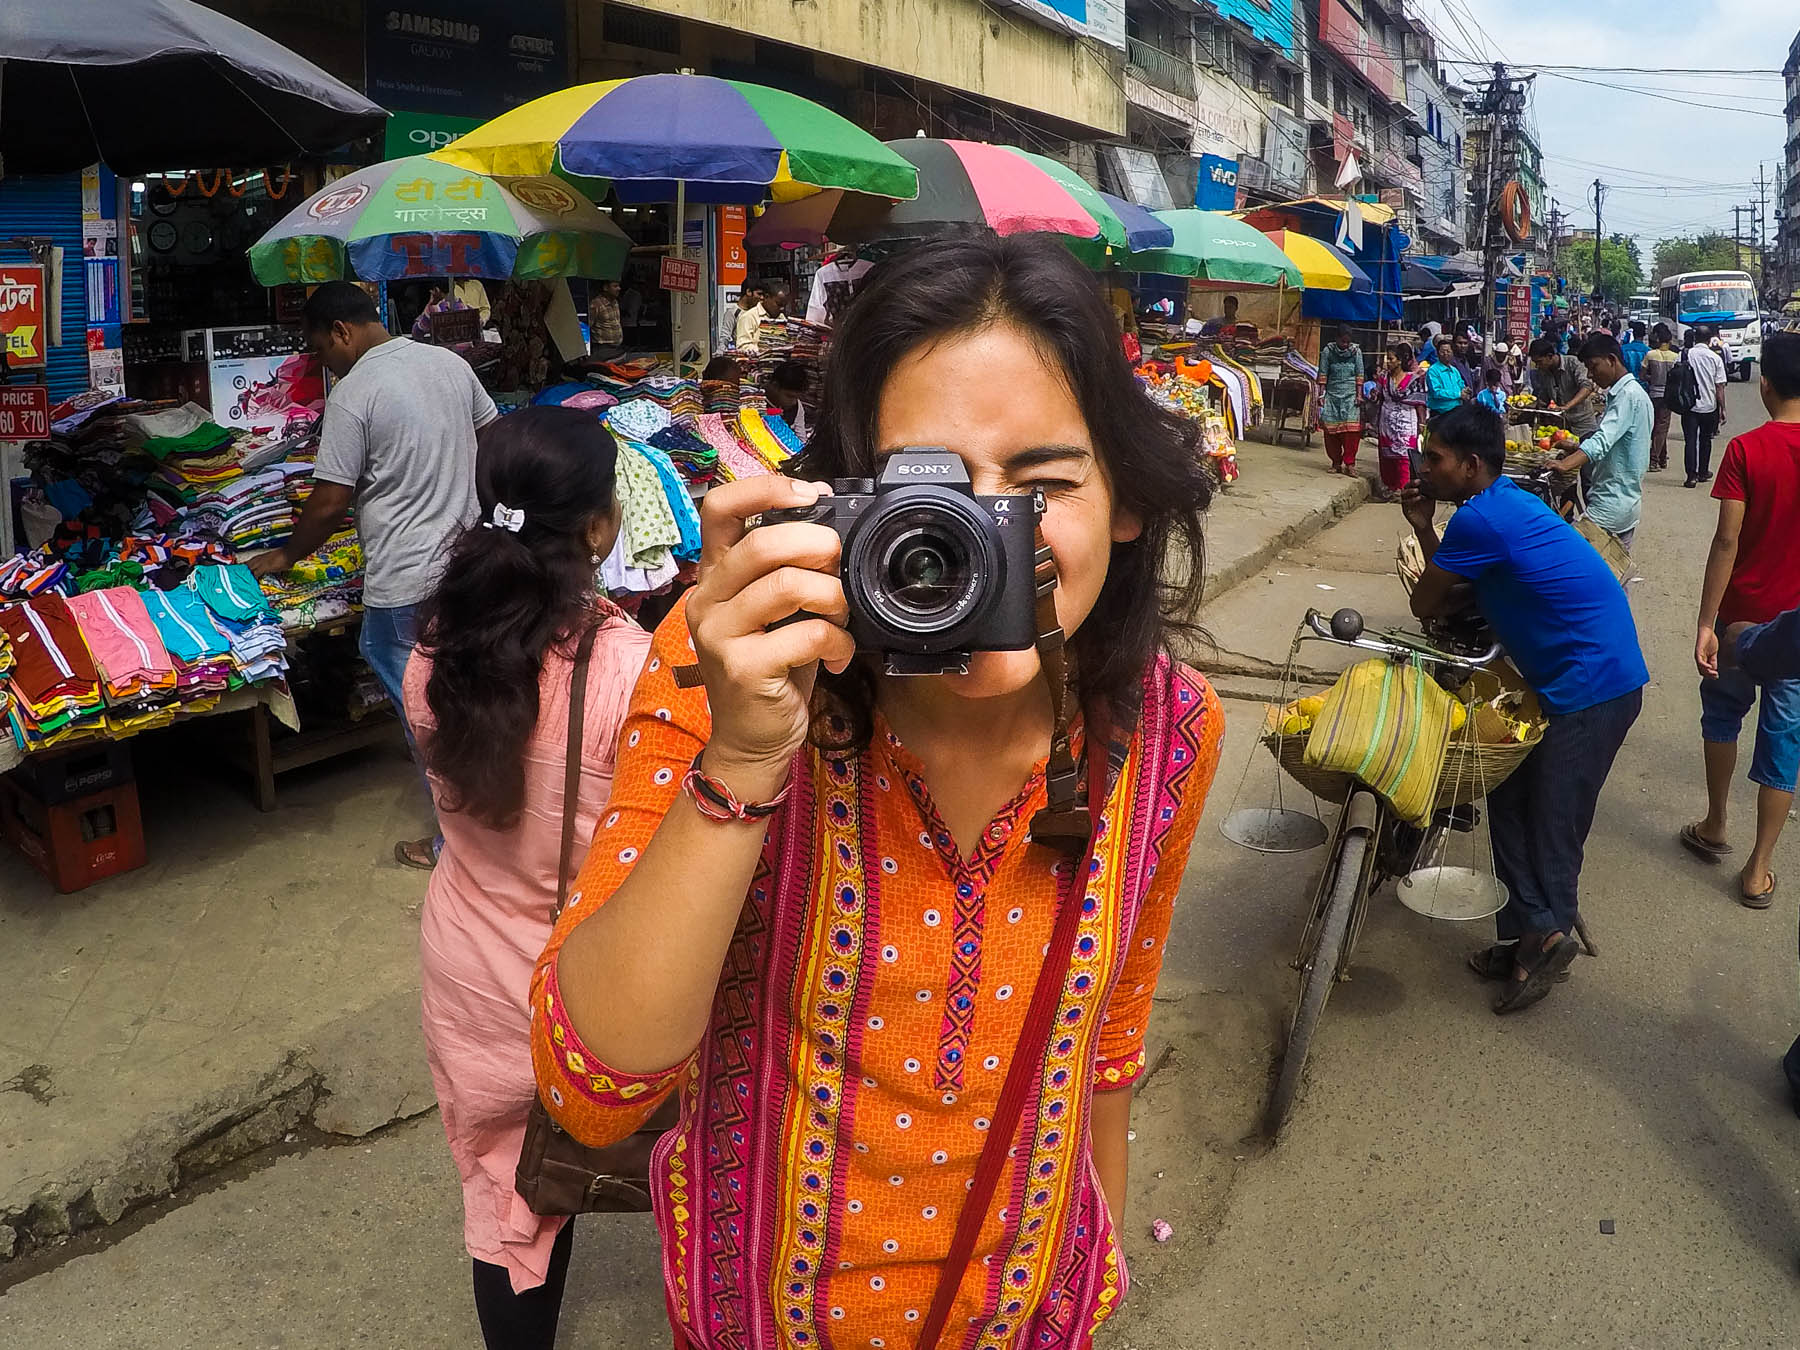
Over and out
So ends my advice and shopping list for the camera upgrade. If you have any questions beyond what I’ve explained here, you can always contact me or ask in the comments below.
If not, peace out, and happy shooting!


This is a very nice review of one of the best cameras there are till today! I had the Sony α58 till last summer when I upgraded to a Nikon D700, full-frame but an oldie one. I am super happy so far with my purchase, but reading your review I think that mirroless is the future. The low light performance of your camera is outstanding! Happy takes! I have some really cool posts about photography on my blog, have a look if you feel like
http://www.traveldefinition.com/category/photography
I’m sure DSLRs will still be around for a long while, but I do think mirrorless will gradually overtake them! There’s just no beating the size and weight. If only lenses could be downsized in the same way!
The shots you took were simply amazing. Looks like I could use an upgrade myself haha.
Thanks a lot! It took us forever to decide on an upgrade, but we’re very happy we did 🙂
Love this post. Thanks!
You have no idea how happy I am to have clicked on the Pinterest link that brought me to your website! I’m moving to India soon for about a year for work & I’m reading up on everything I can find about it.
Hi, great advice, your backing up what I’ve been thinking about for months now. I’m going mirrorless! Although I’m starting closer to the budget end and very keen on the sony a7. I wonder if you could give me your thoughts on good but not too pricey lenses. Looking for a wide angle to use for diverse use of landscapes/interiors/architecture and maybe a 50mm prime for product photography.
But if you can recoomend a zoom to take care of all this I’d love to hear it.
Thanks so much, love your work
Hey Peter, thanks for the compliments! Finding a good lens for a full frame at a good price point can be a bit of a PITA… have you considered the 28-70mm f/3.5-5.6 kit lens? It’s quite affordable at around $300, and well received given it’s a kit: http://amzn.to/2ytBkWD
If you want higher quality (for the higher price), though, the 24-70 f/4 is the much better choice: http://amzn.to/2htvMbE
Hope that’s helpful!
Hello from España!
Have just to discover your blog, and I fkng love it! Lately I´m thinking in upgrade my camera (canon powershot s120), which I love it because, in spite of its size (its ultra small, fits in your jacket or trouser pocket perfectly), you can do a looot of things with it, thanks to its manual mode. But I feel that I need something more, specially in low light situations. I was thinking in the sony a7, so your review was very welcome for me. Just a question about the filters. Do those filters are only to protect the lenses? Don´t you use something more, like some ND filters, or polarizing filters?
Gracias, and congrats for your efforts! 🙂
Yeah, these filters were just to protect my lens. I’m very prone to destroying things 😛
I did have polarizing filters on my lenses as well, though I recently realized they were causing very strange effects with direct lighting, so I’ve since taken them off. As for ND filters, I’ve been meaning to get an ND 10 filter, but I keep forgetting when chance arises…
Oh, I forgot another question. For low light situations, or night photos, you use tripod? Or with this camera you can get good results without it? Like, I don´t know…. very high ISO, f/2, and… BOOOOM!!! Good results without tripod.
These days, yes, I often use a tripod at night! For taking photos of people at night/in low light situations I don’t bother—it makes things too awkward—but for landscape and architectural photography during twilight or at night, the tripod comes out. You can bump the ISO up quite high on this camera with good results. I’ve shot at between 6,000 and 12,400 ISO and… well, I’m a bit too OCD to be totally happy with the grain, but the photos are definitely still usable!
I tried cbd products for the first term model week, and I’m genuinely surprised by way of the results. I’ve struggled with nervousness and incidental sleeplessness, and CBD seemed to offering a nice, still effectual, quickness of calm and relaxation. There was no ‘far up,’ just a gentle easing of my concern symptoms and a more sedative unceasingly’s sleep. It tasted a grain bawdy, but that’s a small trade-off as a replacement for instinct more at peace. I’m looking step up to seeing how it helps in the prolonged run.